Configure Footprint Data Access Groups
Footprint uses Data Access Groups, or DAGs for short, to determine what entity data - such as Warehouses, Owners, Projects- a user can or cannot see. This might mean that one Footprint user in a company with multiple warehouses may only see orders for the warehouse they work in, while another user in a different position from the same company is able to see them all. This is especially true for Footprint Customer Portal, where one customer user should only see data for just their inventory and orders.
Datex Manager is used to setup and define these Data Access Groups. Usera with access to Datex Manager can create DAGs, assign users to them, and define which entities each assigned user can view, all from Datex Manager.
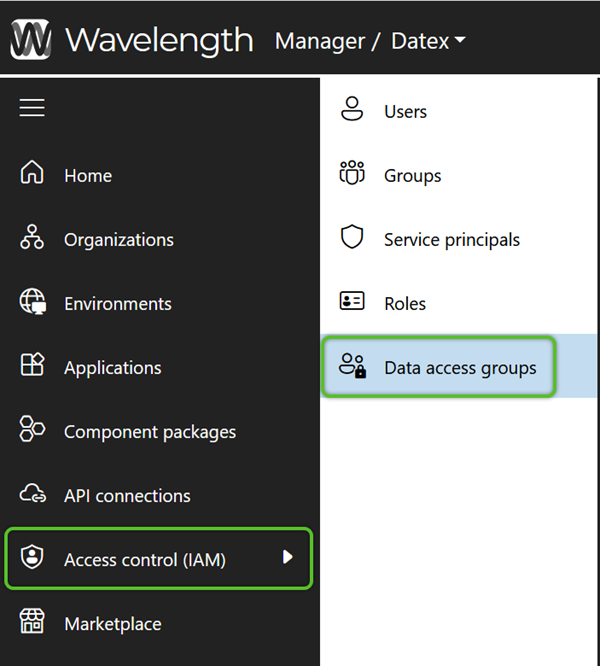
1. In the left navigation menu, click Access Control (IAM), then select Data Access Group. Once on the Data Access Groups page, click the + Add data access group button to open the Create Data Access Group flyout.
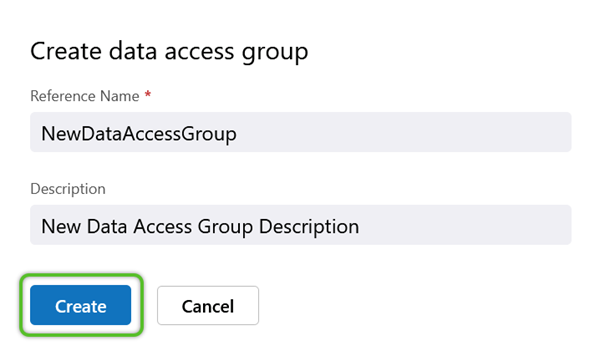
2. In the Create Data Access Group flyout, enter a required Reference name (it must not contain special characters or spaces) and a short Description for the Data Access Group. If creating a DAG for a customer on the Footprint Customer Portal, it is recommend to use a naming convention that starts with "Owner_" or "Project _" followed by the customer's Owner or Project name. For example, a customer with the name Demo Customer would be entered as "Project_DemoCustomer".
Note
When creating new Roles and Data Access Groups, the Name cannot include spaces or special character. While numbers are allowed within the Name, it cannot begin with a number.
4. Click the Create button.
Once the Data Access Group is created it will be available in the list with other previously created DAGs.
Just creating the Data Access Group isn't enough. In order for it to effectively filter data visibility, the allowed entities will need to be defined in the correct environment's API Connections.
1. To start, in Datex Manager, click API Connections in the left navigation menu.
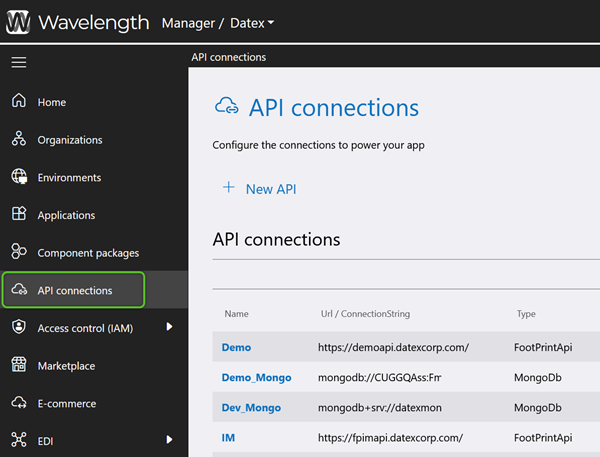
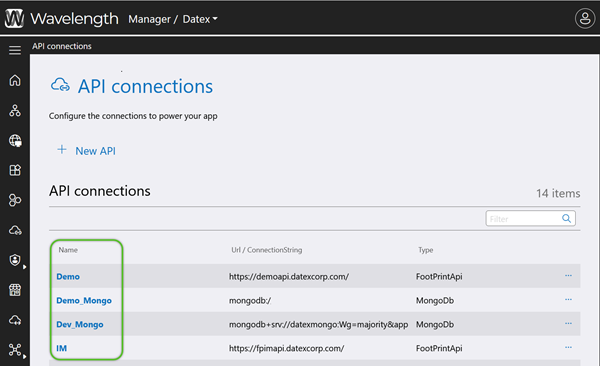
2. Looking in the Name list of the API Connections, locate and click on the name of the environment the Footprint application is housed on. If uncertain, check that the associated Type is FootPrintApi.
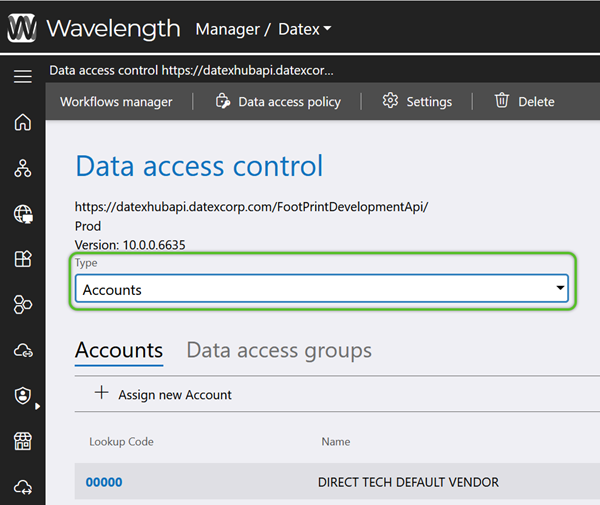
3. On the Data access control page, use the Type drop-down menu to select the entity to allow access for. Most common choices will be Owners, Projects, and Warehouses.
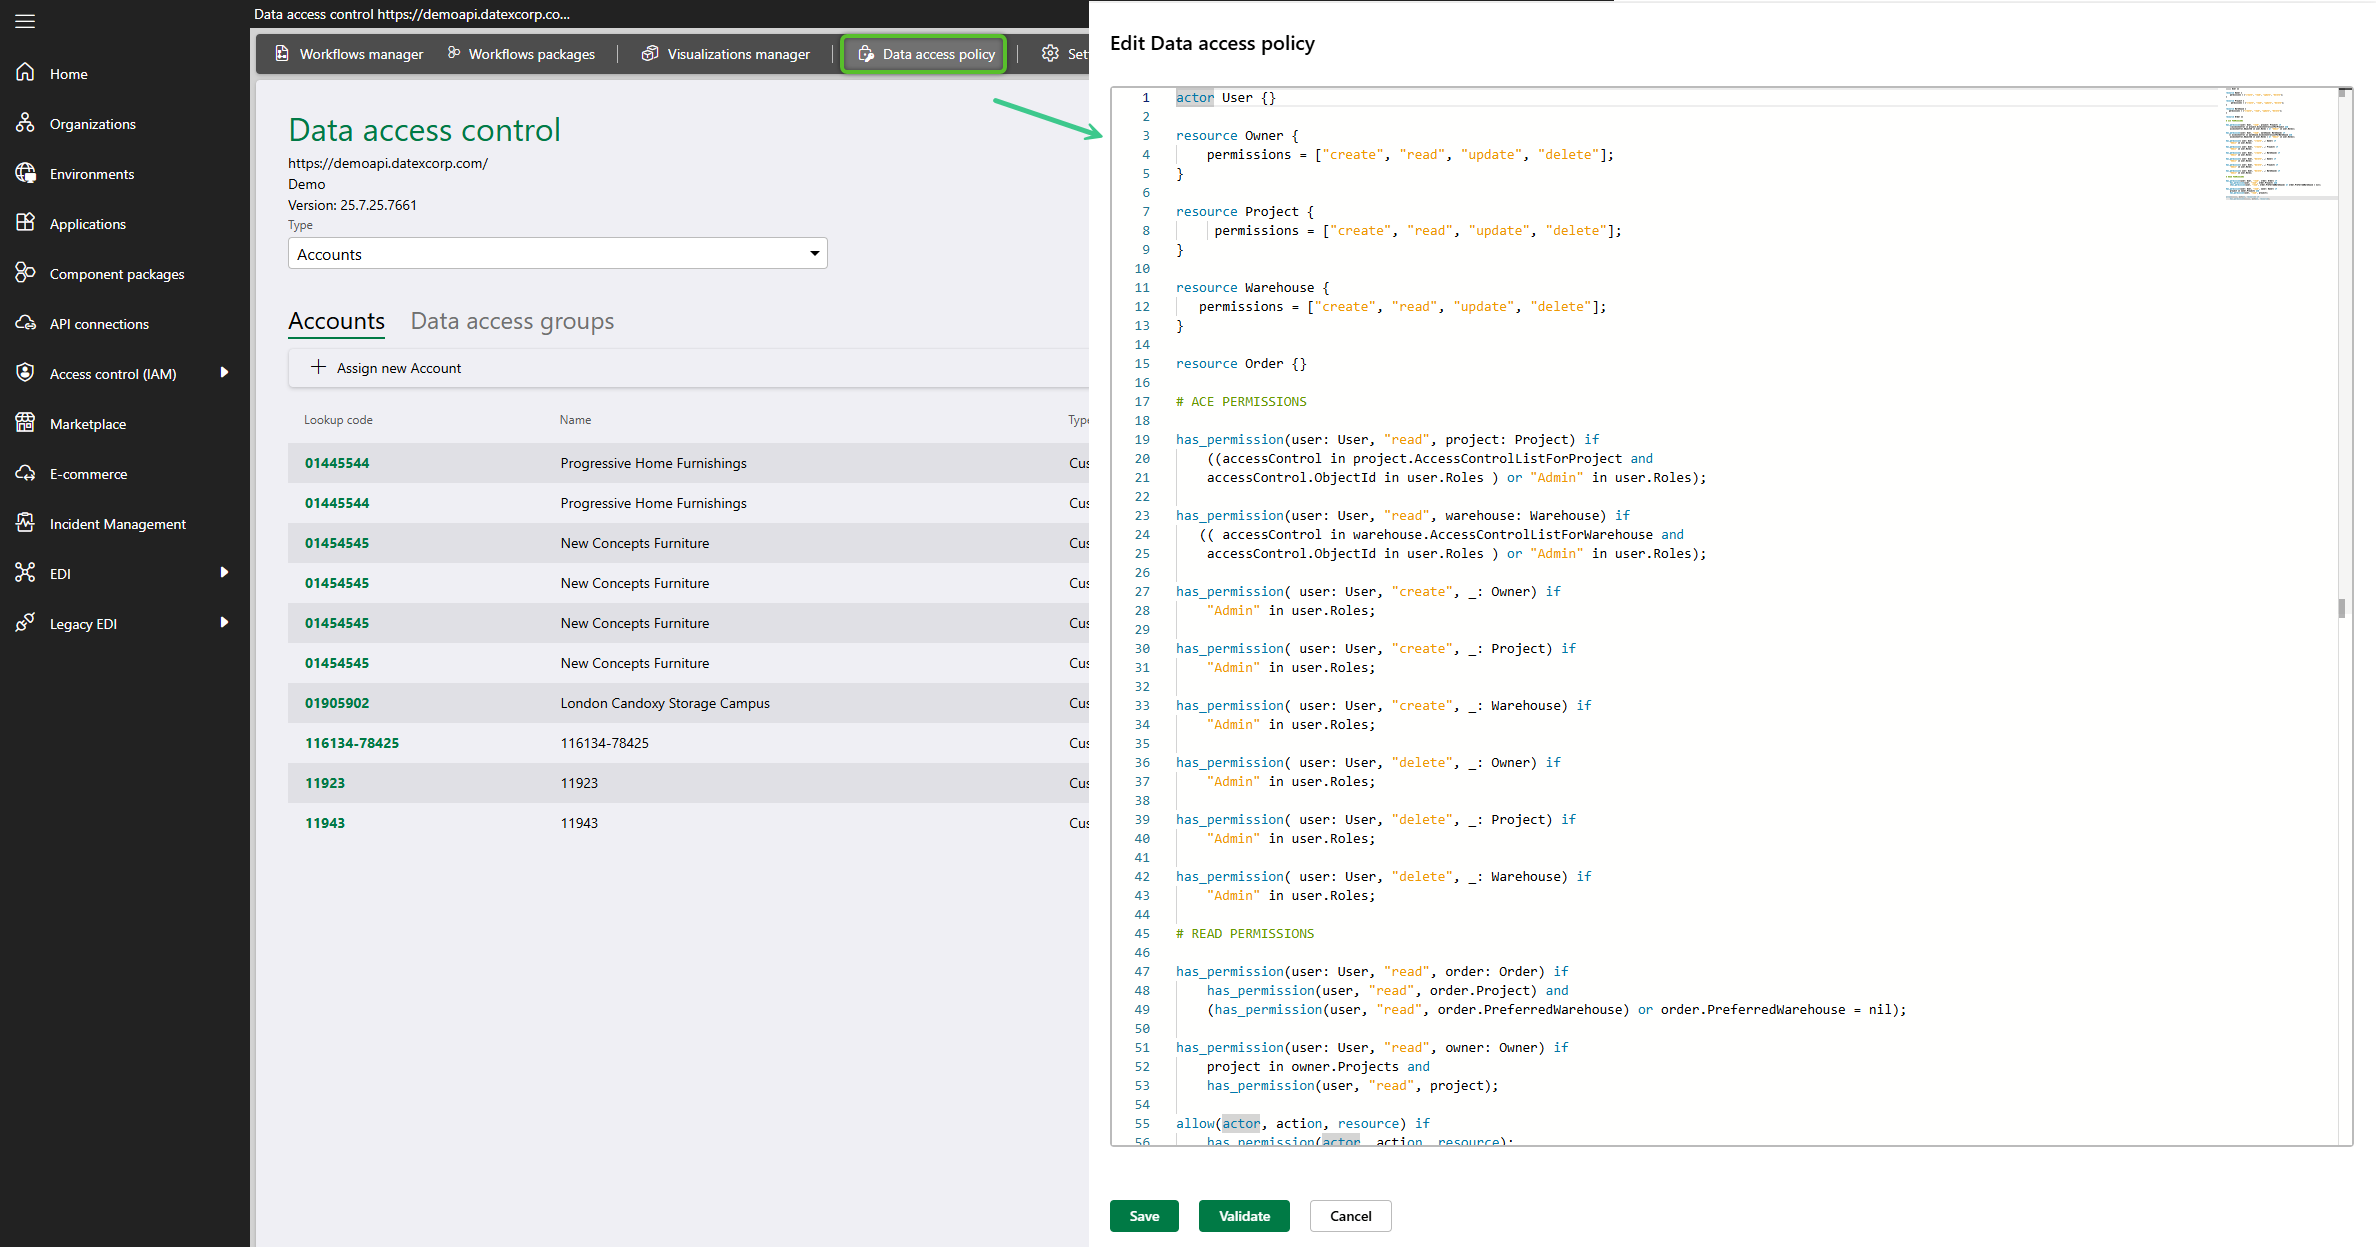
Note: For permissions defined in a Data Access Group to function, a Data Access Policy must be present. Click the Data access policy button to open its window and verify there is code present. Close the flyout by clicking Cancel. If it's empty, contact Datex to get one added.
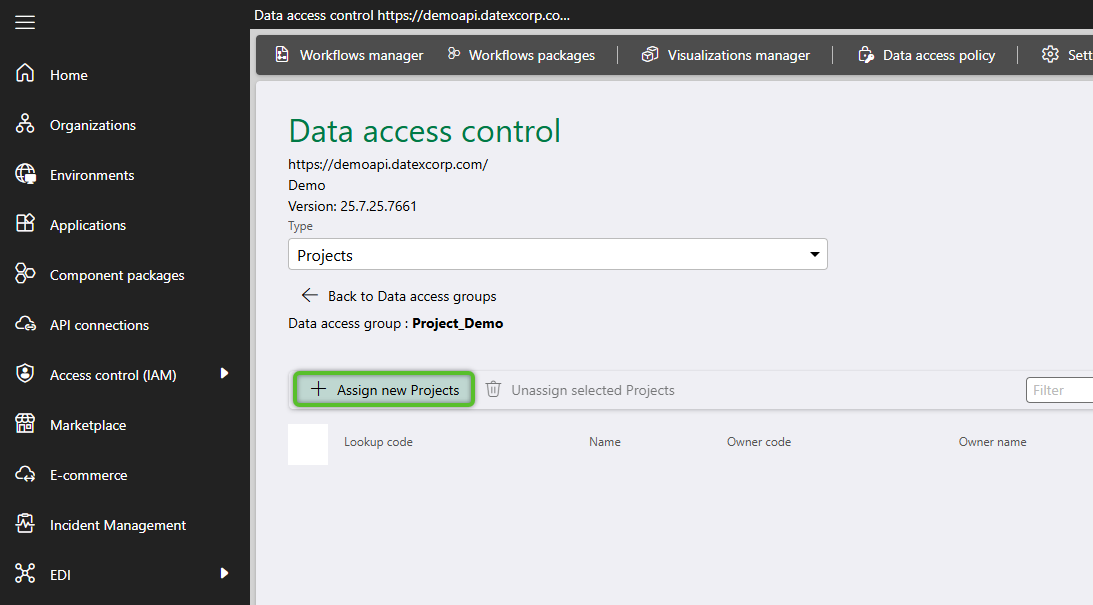
1. After setting an entity (Owner, Project, Warehouse etc.), click the + Assign new <Selected Data Entity Type> button to open the selection window.
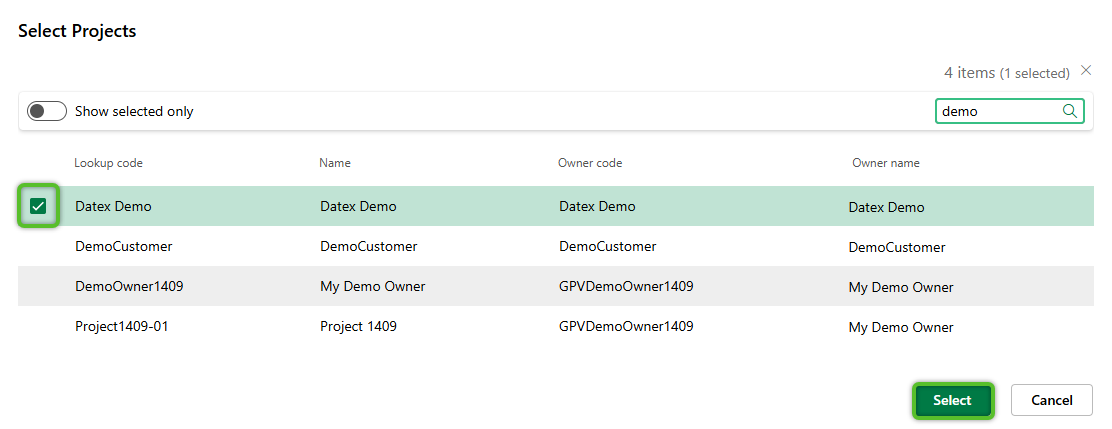
2. Locate and check the row(s) for specific data entity/entities. Remember, the selection being made here is for those entities that will be allowed for the Data Access Group. Once all selection(s) are complete, click the Select button.
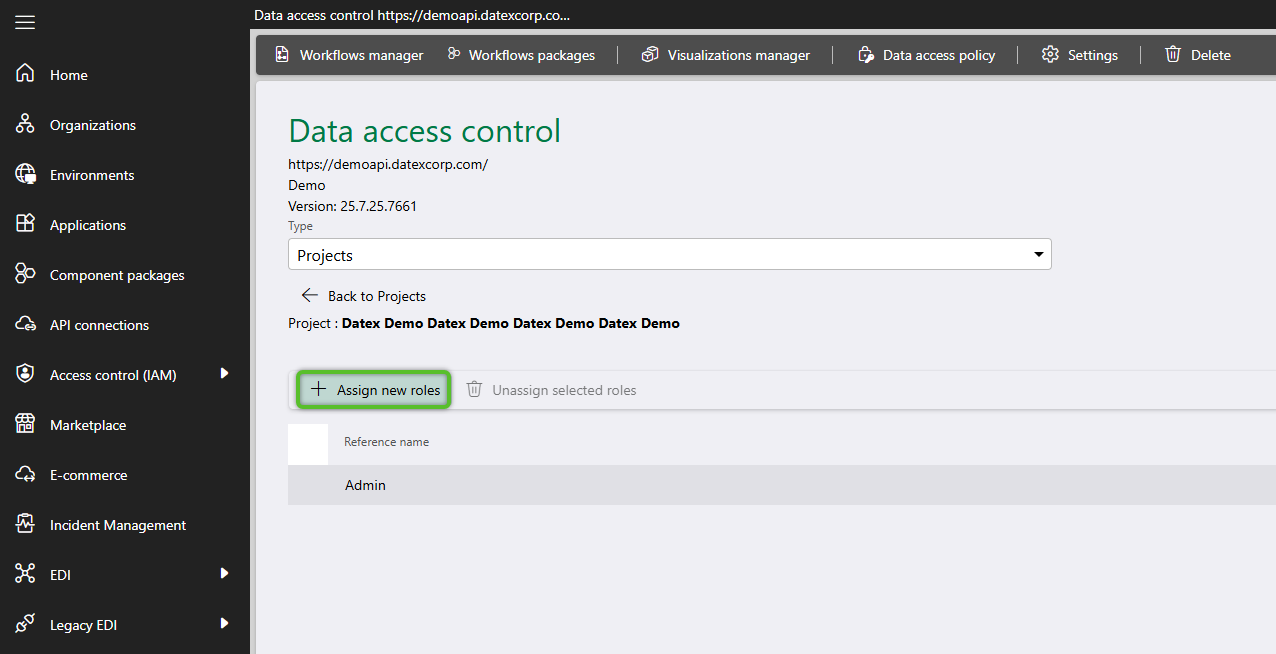
If only one data entity was selected, its page will automatically open, where Data Access Groups can be assigned. If this does not occur, the newly selected data entity's Lookup code can be clicked on to open its individual page.
3. Once on the individual entity's page, click the + Assign new roles button to open the selection window.
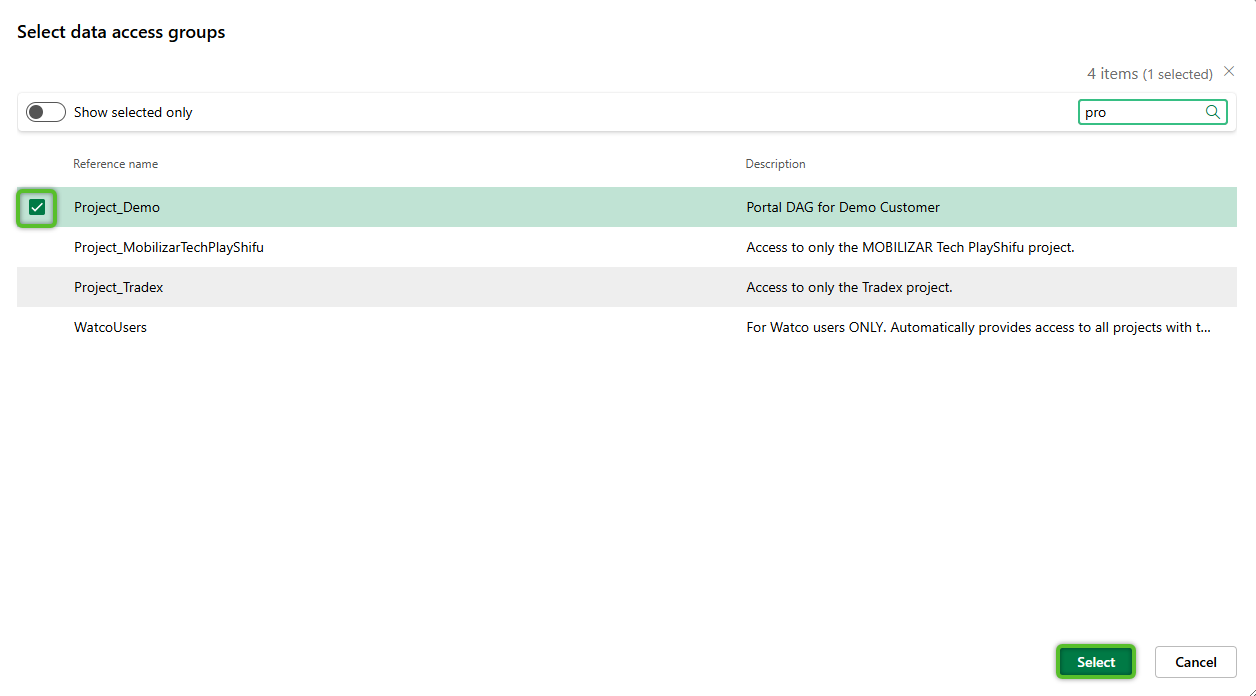
4. Locate and check the row(s) for the Data Access Group(s) that should be able to see data for the current data entity selected.
For example, if a Project was selected and a Footprint Customer Portal Data Access Group is being configured, selecting the Customer Portal Data Access Group ensures only Orders and inventory for this Project is visible for users in the selected DAG.
Once all Data Access Group selection(s) have been made, click the Select button.
These steps can be repeated to add new data entities and assign Data Access Groups. Once a data entity has been added, its Lookup code can be clicked on to open its page and add additional Data Access Groups if needed.
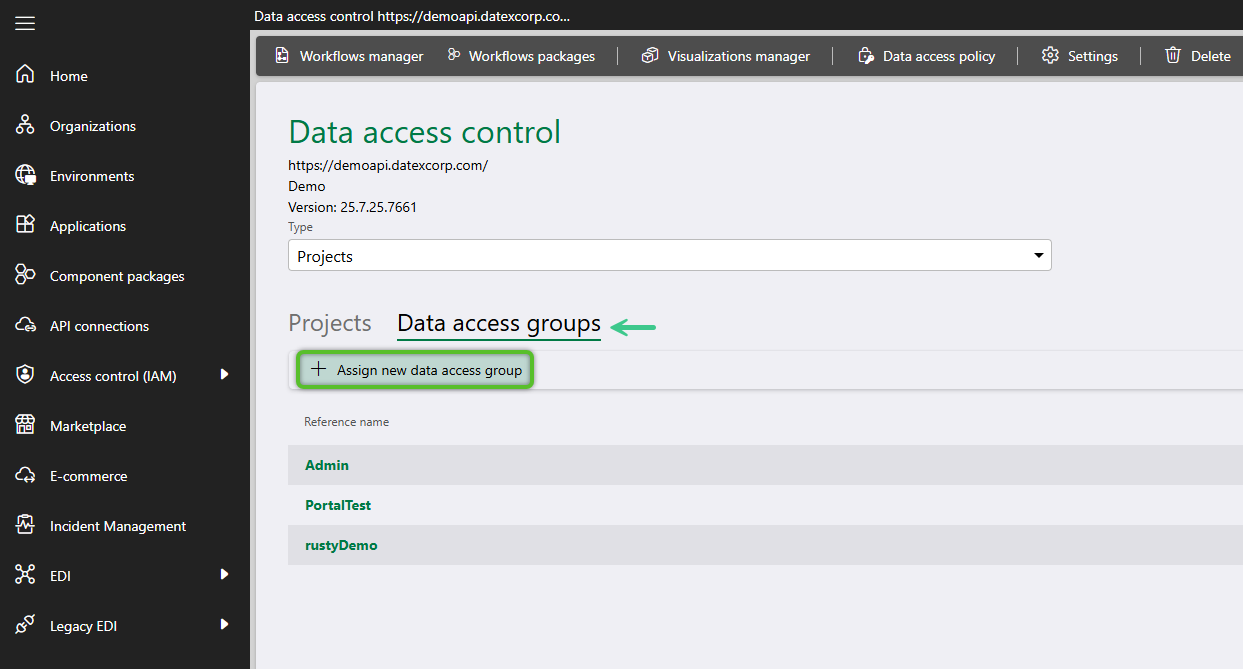
1. After setting an entity from the Type drop-down menu, click the Data access groups tab, and click the + Assign new data access group button to open the selection window.
2. In the Data Access Group selection window, check the Data Access Group(s) to add.
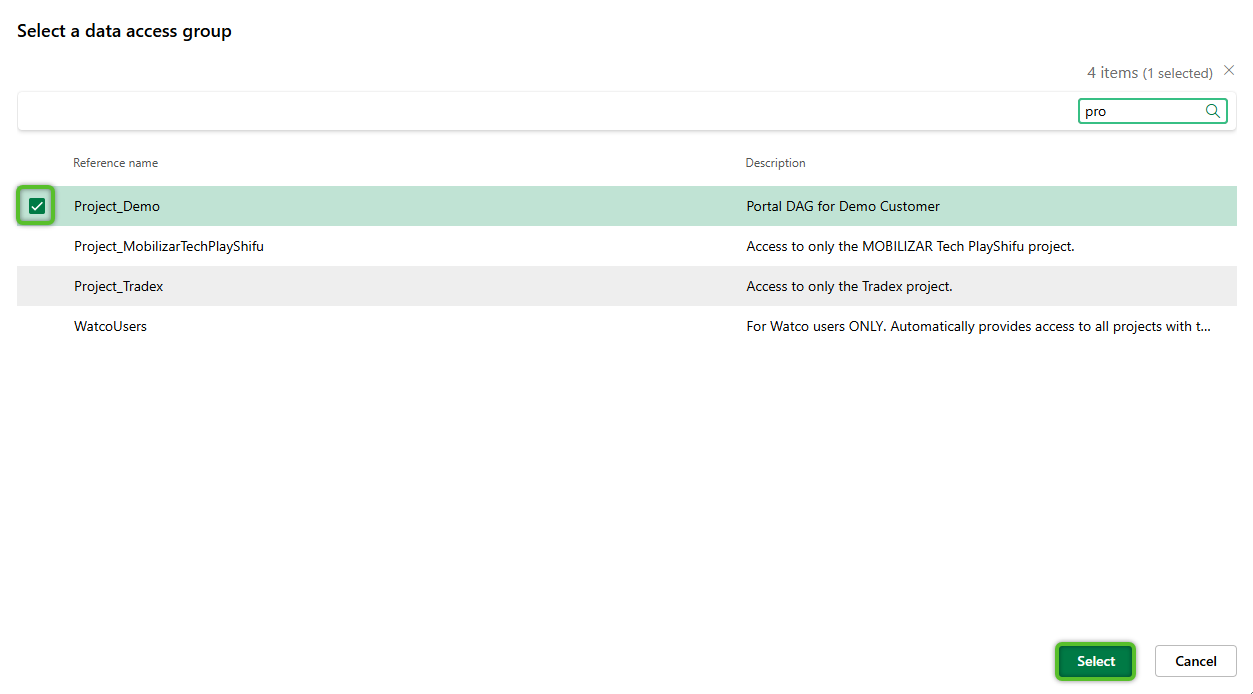
If only one Data Access Group was selected, its page will automatically open where data entities can be assigned. If this does not occur, the newly selected DAG's Lookup code can be clicked on to open its individual page.
3. Once on the individual DAG's page, click the + Assign new <data entity type> button to open the selection window.
4. Locate and check the row(s) for the Data Access Group(s) that should be able to see data for the current data entity selected.
For example, if a Project was selected and a Footprint Customer Portal Data Access Group is being configured, selecting the Customer Portal Data Access Group ensures only Orders and inventory for this Project is visible for users in the selected DAG.
Once all Data Access Group selection(s) have been made, click the Select button.
These steps can be repeated to add new Data Access Groups and assign data entities. Once a DAG has been added, its Lookup code can be clicked on to open its page and add additional data entities if needed.
| Last Updated: |
| 04/21/2026 |
Copyright © 2026 Datex Corporation